Get in touch
We Are Always Excited To Take On New Projects!
Phone
Email
Website
https://www.cybercafestore.com
Address
330 Queen St, Ottawa, ON K1R 7Y5, Canada
We Are Always Excited To Take On New Projects!
https://www.cybercafestore.com
330 Queen St, Ottawa, ON K1R 7Y5, Canada
A detailed, step‑by‑step guide to setting up Nginx for fast page loads and rock‑solid security, covering installation, tuning, SSL, headers, caching, load balancing, and monitoring.
Note:
If you’re using a managed web hosting panel such as CloudPanel, cPanel, or Plesk, nginx is already installed and configured for you. Feel free to skip to the Performance Optimizations and Security Hardening sections below.
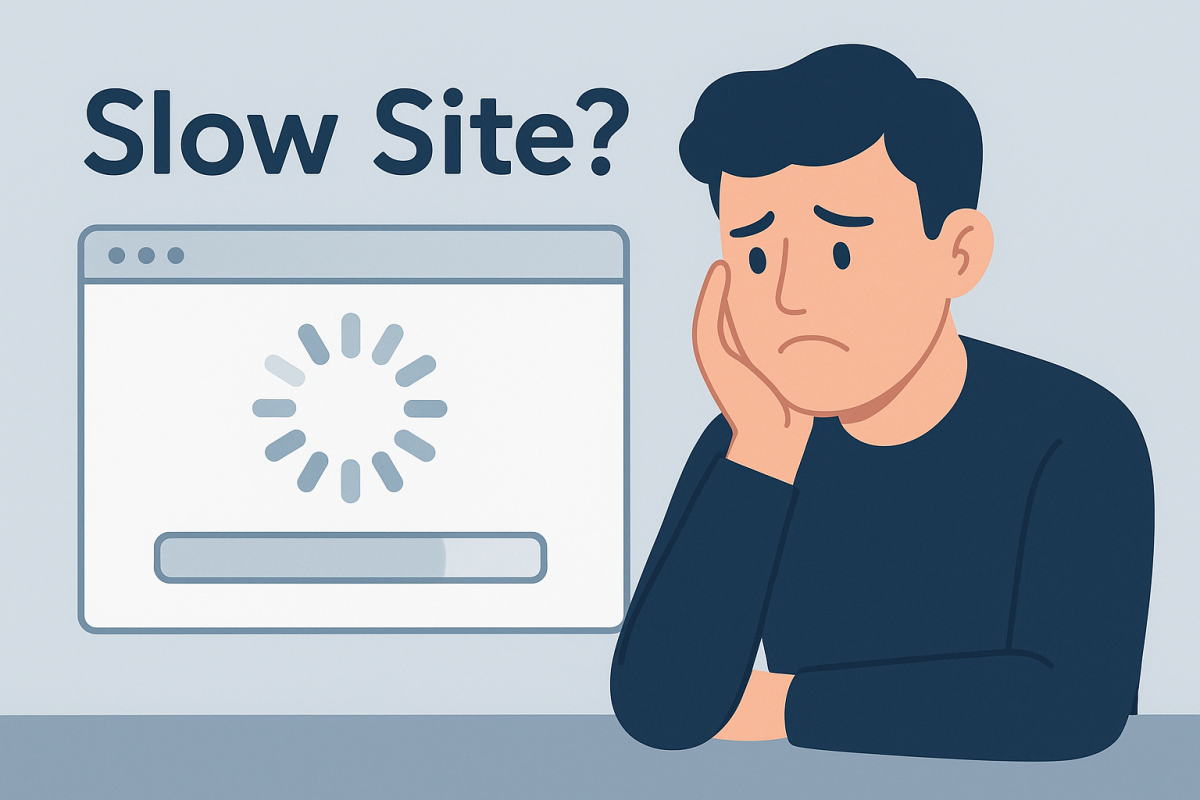
Nginx powers some of the world’s highest‑traffic websites because it can serve static files in milliseconds, act as a high‑performance reverse proxy, balance traffic across multiple servers, and protect against common threats. In this guide we cover everything you need to know to install nginx on your own server, tune it for speed, lock it down against attacks, and keep it running smoothly over time.
Before you begin, make sure you have:
Update your package list
sudo apt update
Install nginx
sudo apt install nginx
Verify the installation
nginx -v
Enable and start the nginx service
sudo systemctl enable nginx
sudo systemctl start nginx
By keeping nginx up to date you ensure access to the latest performance improvements and security patches.
Nginx keeps its configuration organized into:
Create your site file under /etc/nginx/sites‑available/yourdomain.com.conf then enable it:
sudo ln -s /etc/nginx/sites‑available/yourdomain.com.conf /etc/nginx/sites‑enabled/
Always test your configuration before reloading:
sudo nginx -t
sudo systemctl reload nginx
In nginx.conf set your worker count to match CPU cores and allow plenty of connections:
worker_processes auto;
events {
    worker_connections 2048;
}
Enable gzip to reduce payload size for text‑based assets:
gzip on;
gzip_types text/plain text/css application/json application/javascript text/xml application/xml application/xml+rss text/javascript;
gzip_min_length 512;
gzip_vary on;
Tell browsers to cache images, stylesheets and scripts for 30 days:
location ~* \.(css|js|png|jpg|jpeg|gif|webp|svg|woff2?)$ {
    expires 30d;
    add_header Cache-Control "public";
}
Enable HTTP/2 for multiplexed requests and header compression under SSL:
server {
    listen 443 ssl http2;
    ssl_certificate /etc/letsencrypt/live/yourdomain.com/fullchain.pem;
    ssl_certificate_key /etc/letsencrypt/live/yourdomain.com/privkey.pem;
    …
}
Install Certbot for Let’s Encrypt
sudo apt install certbot python3‑certbot‑nginx
Obtain and install your free SSL certificate
sudo certbot --nginx -d yourdomain.com -d www.yourdomain.com
Enable automatic renewal
sudo systemctl enable certbot.timer
Using widely trusted certificates boosts your SEO and ensures visitor trust.
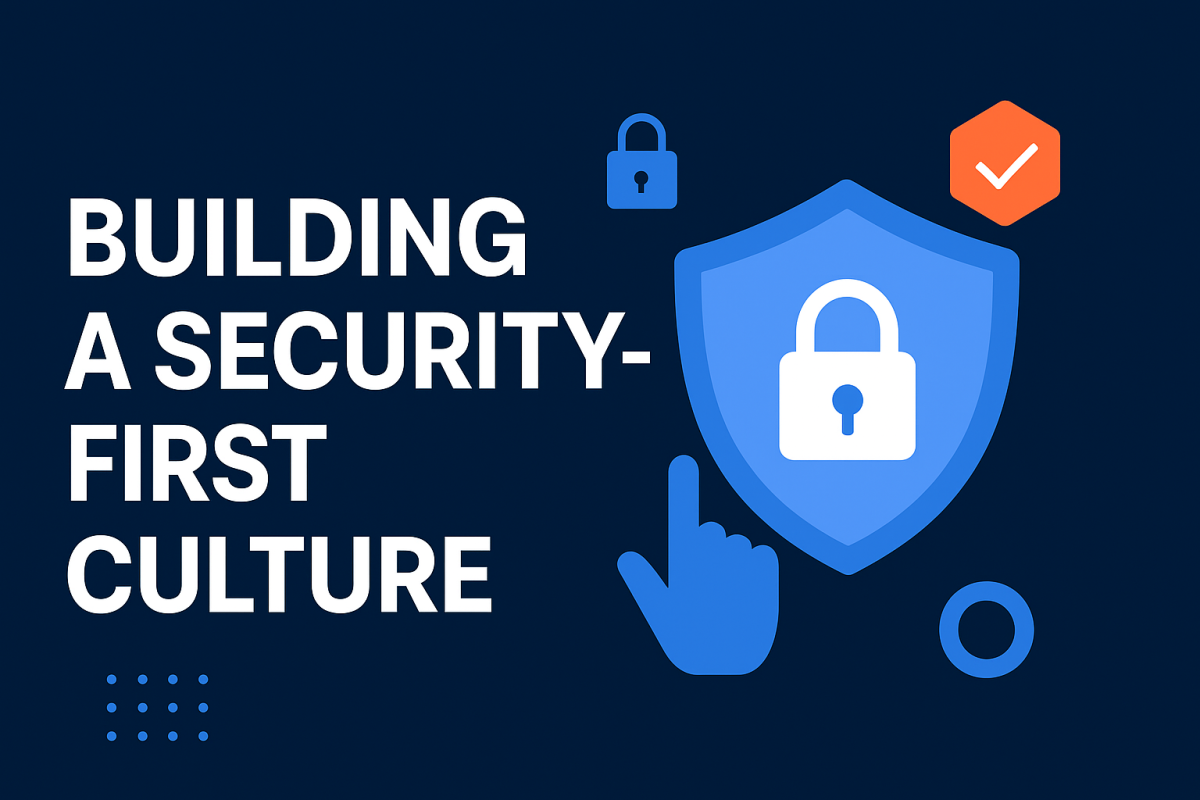
Add these headers in your server block to mitigate clickjacking, sniffing, and mixed content:
add_header X-Frame-Options "SAMEORIGIN";
add_header X-Content-Type-Options "nosniff";
add_header Referrer-Policy "no-referrer-when-downgrade";
add_header Content-Security-Policy "default-src 'self' https:; img-src 'self' data: https:; script-src 'self' https:; style-src 'self' 'unsafe-inline' https:;";
Prevent brute‑force attacks by limiting request rate per IP:
limit_req_zone $binary_remote_addr zone=login:10m rate=5r/m;
server {
    location /login {
        limit_req zone=login burst=10 nodelay;
    }
}
Comment out any load_module lines in /etc/nginx/nginx.conf for modules you do not use, reducing your attack surface.
Distribute incoming traffic across multiple backend servers for scalability and redundancy:
upstream backend {
    server 192.168.1.10:3000;
    server 192.168.1.11:3000;
}
server {
    location / {
        proxy_pass http://backend;
        proxy_set_header Host $host;
        proxy_set_header X-Real-IP $remote_addr;
        proxy_set_header X-Forwarded-For $proxy_add_x_forwarded_for;
    }
}
Implement microcaching for dynamic responses that update infrequently:
proxy_cache_path /var/cache/nginx levels=1:2 keys_zone=microcache:10m max_size=1g inactive=60m use_temp_path=off;
server {
    location / {
        proxy_cache microcache;
        proxy_cache_valid 200 302 60s;
        proxy_cache_valid 404 1m;
        add_header X-Cache-Status $upstream_cache_status;
        proxy_pass http://backend;
    }
}
Access Logs
access_log /var/log/nginx/access.log main;
Error Logs
error_log /var/log/nginx/error.log warn;
/etc/nginx/ using a cron job to an off‑site locationRegularly revisit your configuration to:
By following these steps you’ll have an nginx server that delivers content at lightning speed, defends against common web threats, and scales to meet your traffic demands. Regular maintenance, monitoring and incremental tuning will ensure your setup remains both secure and high performing over time.
Call to Action:
Looking for expert assistance with nginx tuning, managed hosting or scalable infrastructure design? Contact Hunter Tech for personalized guidance and hands‑on support.
Your email address will not be published. Required fields are marked *